The following tutorial is a detailed, step be step explanation, how to build:
2 tentacles.
1 body to mount them together.
4 Servo motors to move the tentacles.
1 Arduino to control the motors.
All the pieces are laser cut.
Materials needed:
1. 1X Body Mounting: 24×24″ size, 0.25″ thickness sheet of material.
2. 4X Pulleys: 24×24″ size, 0.125″ thickness sheet of material.
3. 2X Tentacles: 24×14″ size, 0.125″ thickness sheet of material.
4. 4X MG995 Servo motors
5. Arduino
6. MPR121
7. 2X eyelids
8. Beadalon wire
9. Jewelry crimps
10. Conductive wire-rope
11. Code
Open Source:
1. Body Mounting Illustrator file
2. Pulleys Illustrator file
3. Tentacles Illustrator file
4. Code Arduino file
Step 1
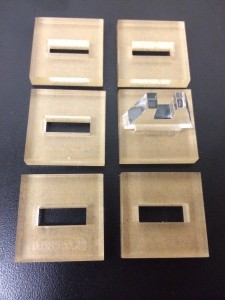
Test pieces for pressure fit. There is a layer in the Body Mounting file, that is different sizes of squares for the same piece. Every laser cutter varies in speed and power, and the material you choose.
Step 2
Choosing material. Think well about your material. In retrospect- I regret using plexyglass. Useing Plexiglass is an easy answer for rapid prototyping, and it looks good. Having that said, I throw away so much of it through the process of building the creature, using a very polluting material. I’m still in the process of looking for the right material, and for now- I’m using plywood.

Step 3
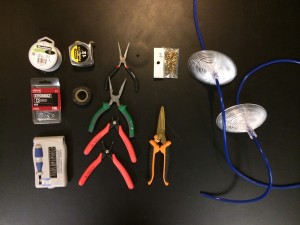
Get your tools together
Step 4
Putting the actual tentacles together.
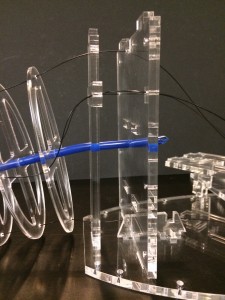
Each piece is .25″ bigger then it’s previous (in hight). Make sure you don’t mess up the order.
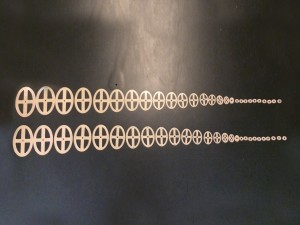
The outside diameter of the rubber tube is 0.25″, and the size of the center circle of each piece is 0.23″. That way it’s all pressure fit, and has no use of glue or anything else to keep the parts in place.

There is 1″ between every part.

I used Beadalon 7-Strand Stainless Steel 0.026-Inch wire to control the movement of the tentacle, and used jewelry crimps to tie the wire.


Step 5
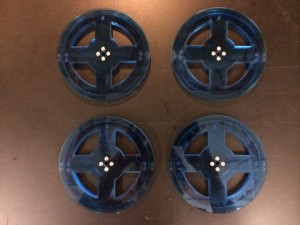
Build pulleys. Each pulley has 4 pieces. The 2 smaller parts, are for the inside, and the bigger ones are for the outside. The reason 2 parts have a bigger whole, is for the pulley to sit in the motor mounting.

Just stick the 4 parts together, and screw the motor mounting on to it.
Step 6
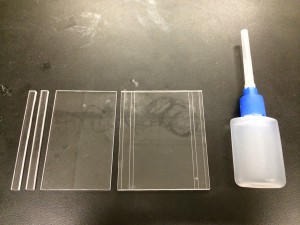
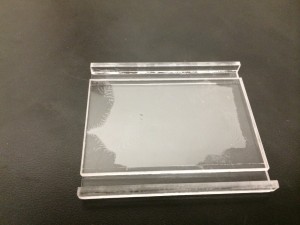
This part is built in order to keep the right left pulley in place while operating.
Step 7
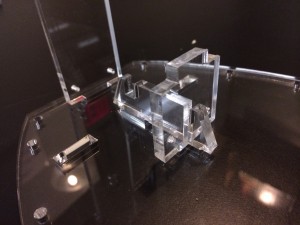
The mounting.
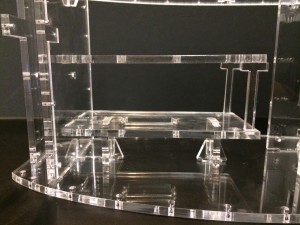
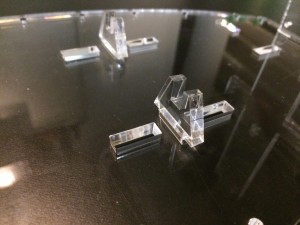
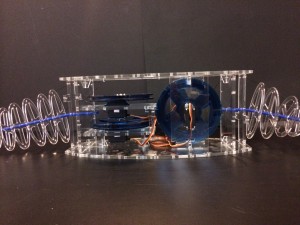
Now that all our parts are put together, we can assemble the creature.
Except the parts which are already glowed together (and never need to come apart), the creature is pressure fit. You can always take it apart, and rebuild it in another place and time. Also if a motor burns out, you can replace it easily.


Step 8
Code and electronics.
I’m using a as the MPR121 for conductive sensing. It’s the only thing powered by the Arduino. It tells me which tentacle is being touched. The motors are being powered by an external, high current power supply.

